In this guide, we'll walk you through the steps to get your Audax Water Bladder / Reservoir set up and ready to go!
Content Overview
When you receive an Audax, it includes the water reservoir kit and some essential accessories. This kit comprises the 1.5-liter water reservoir, spare O-ring seals (don't lose these), and the insulated drinking tube with quick-release attachment.
Now, let's look at three key features and parts of the water reservoir:


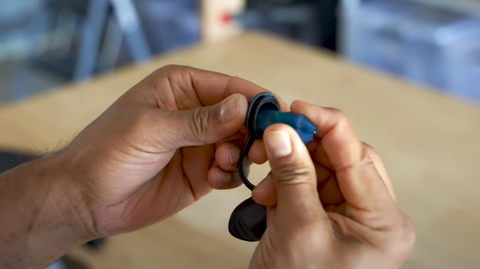
To replace the silicone bite valve, follow these steps:
Removing the Silicone Bite Valve:
- Pull up on the dust cover to expose the covered part of the silicone bite valve.
- Pull up on the (now uncovered) part of the bite valve, carefully teasing the silicon mouthpiece from the tube.

Installing the new Silicone Bite Valve:
- Install the new silicon bite valve into the dust cover first, pushing the whole bite valve into the recess in the dust cover. With the tube of the bite valve protruding out of the bottom of the bite valve
- Gently slide the exposed tube of the silicone bite valve over the plastic tube, on the end of the drinking tap mechanism
- Ensure the silicone bite valve tube reaches the full length of the drinking tap tube
- Gently push the dust cover and tap mechanism together, exposing the bite valve mouthpiece
How to install the water reservoir and drinking tube in your hydration pack:

- Open the zip on your pack, revealing a Velcro hanger.
- Thread the quick-release end of the hose through the pass-through points on the Audax shoulder.
- Connect the hose to the water bladder quick-release mechanism.
- Put the water bladder into the pack and secure the reservoir using the Velcro hanger inside your pack.
- Zip up your pack and make sure the hose runs through the shoulder strap keepers.
- Position the drinking valve for easy access.
How to cut your drinking tube to your preferred length:

- Wear your Audax and correctly install the water reservoir kit
- Thread the tube to the desired path on your pack
- Use electrical tape to mark the correct length you would like the hose
- Cut the drinking tube 1cm longer than your mark
- Push back the insulation sleeve over the drinking tube and cut 1cm off the drinking tube
- Remove the tap from the cut off end of the drinking tube
- Reinstall the tap into the new end of your drinking tube, ensuring the tube is installed on the tap mechanism to the maximum point.
- Slide the insulation sleeve up to the tap and tape in place with electrical tape to prevent fraying
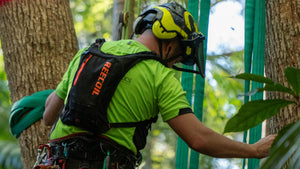
With these steps, you can set up and customise your Audax Hydration Harness to stay hydrated comfortably during your climbing, running, cycling, or any other activities.
Products Displayed in this tutorial:
If you're interested in watching the full video check the link below:


